


Introduction
There are millions of shopify stores that uses Shopify Apps and we also know that each app is not capable of giving everything so, there is always a great scope “shopify app development” that you create a super app for your customers and try to solve their problem so, that they can grow. If you will understand problem of other person then you can easily grow in the field.
If they will grow and like your product you will also earn money. But, what we do actually is first think about money and then we do the development which is wrong.
There are many things in shopify which still need improvement & resolution. So, how to understand what kind of App we can create which will be beneficial to the customers.
For that first you have to do a project end to end and during development by understanding core problem and in that duration we are sure that you will encounter too many thing in which installed App are less functional as per the requirement and here is your entry in the app development for which you can start thinking.
Once you go through this shopify app development tutorial or article you will become capable to create shopify app using php.
We will guide you step by step and make you earn money from shopify app development which is actually a recurring payment and will be credited in your account every month.
How much you can earn from shopify ?
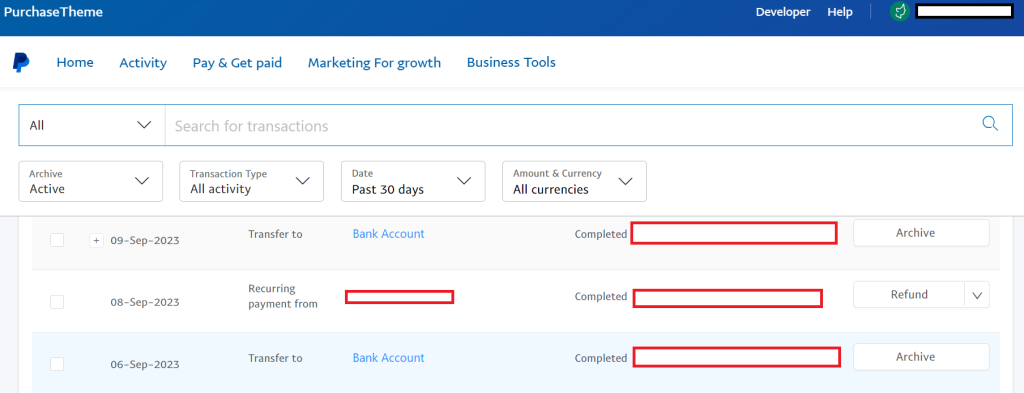
Like if you have 5 installation this month and your app cost is $5/month then your payment will be 5*5 which is $25 per month and like that as soon as you installation increases your payment will get increases but, note that shopify will keep some amount around 30% and rest will give it you which is actually called “shopify commission on sales” or “shopify commission per sale”.
Now, let us divide the article in few small faq’s which will make the article more clear and understandable.
If you want to check in details you can click here
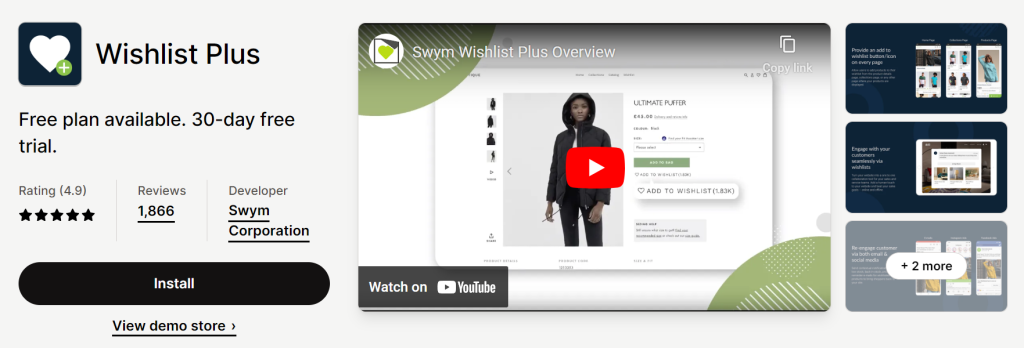
For your motivation see the below apps and their estimated earning:
This Whishlist Plus APP is having 1866 Reviews ( Quality Matters ) and let’s assume 1800 installation are still there and starter plan cost is $14.99/month so, you can estimate the monthly earning of this app is around $25,200 amazing ? but, for your information we want to tell you that if around 20 people install the app in that only 1 is there who give the reviews so, now you can estimate the earning is approx $504,000 🤑🤑🤑🤑 (general estimation)
Does Shopify take a percent of sales ?
Yes, shopify take percentage on sales – Shopify Partners get a recurring commission of 10% or 20% of the merchant’s monthly subscription fee based on the Store Plan.
Let us make it clear that when you will initiate app development you have to create a shopify partner account which is compulsory and all your app will resides inside that when ever a installation is made you will get the notification and payment if you are charging some amount for the app installation.
How to create shopify partner account ?
It is very easy to create shopify partner account. Click here to open the link.

After creating account and login:
How to create shopify App ?
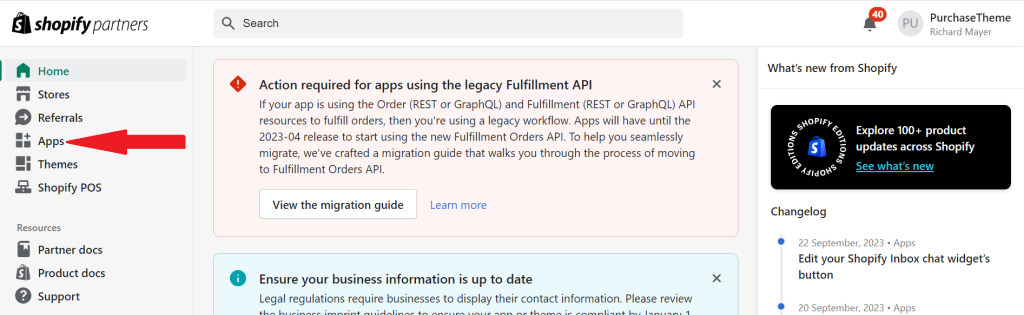
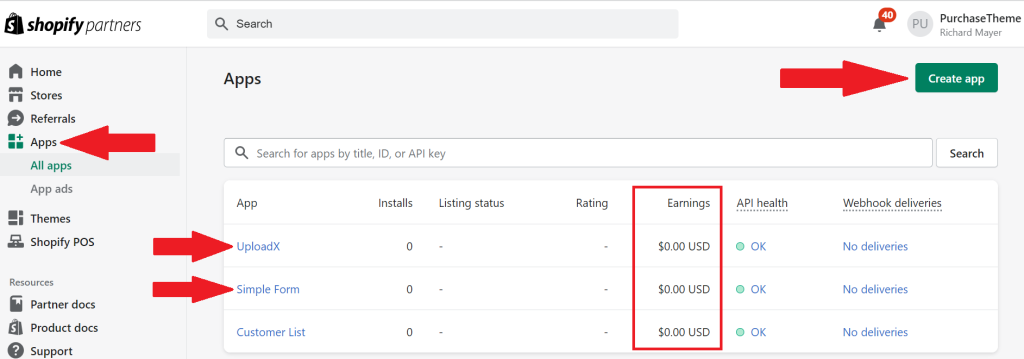
We assume you have created the shopify account and now you to click on Apps >> Create App ( Button – top right )

Now, if you have the knowledge npm, yarn you can create shopify app but, here in this guide we will tell about the simple manual method. ( Make sure you have hosting account to store the related development files )
Recommended Hosting from PurchaseTheme: Fastcomet ( 80% Discount – You can check from other hosting providers )
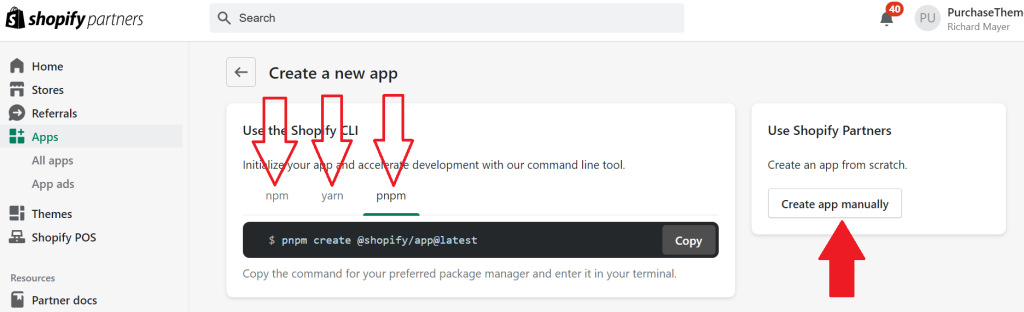
Once you click on “Create App manually” it you ask you for a name which is basically your app name only. Like if you are creating a app for export/import product then you just need to add “Export-Import” or anything you like. We have created a App named as “UploadX“
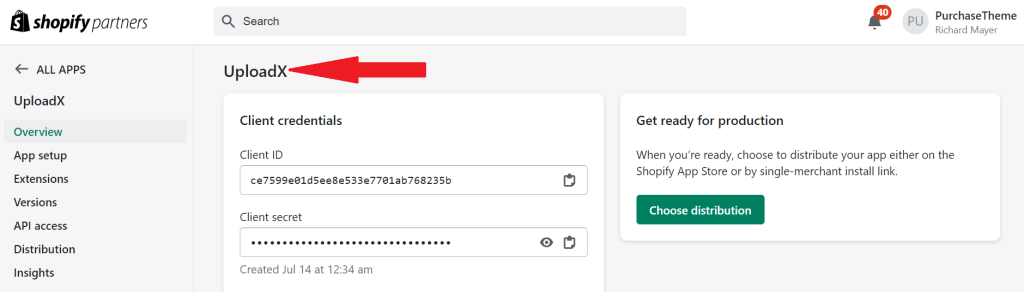
Client ID & Client Secret will be required later to authenticate your request. Like when ever a request from your server will be made to shopify it will check if you have these two things so, that it can complete the installation request.
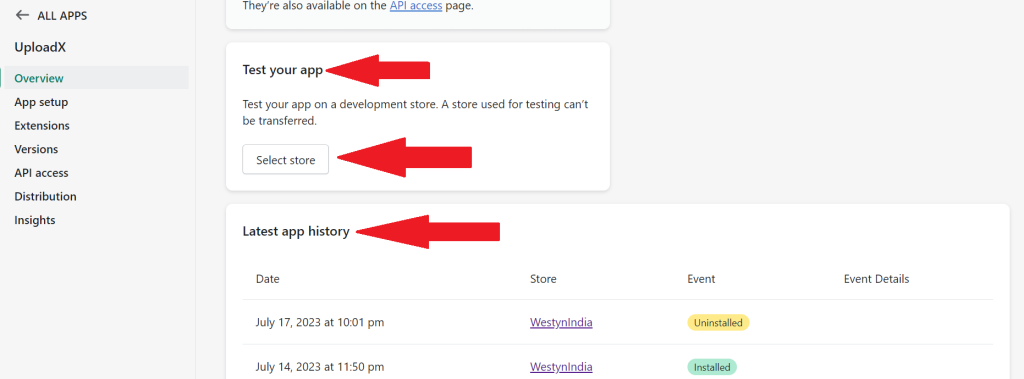
As soon as you complete the app you can start testing on “shopify store” that is totally free and you can create after you app is completed. For your information we have tested “UplaodX” on below store
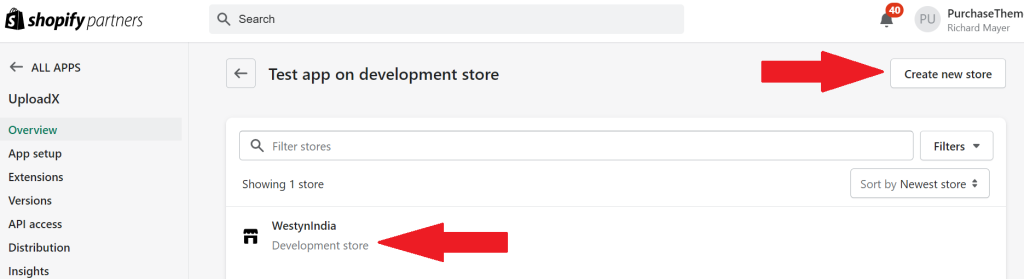
When you click on Select Store it will redirect to you page where you can see list of store you can test the apps or you can also create a new store from there as well.
Let’s Start...🥳
How to make Shopify app using PHP ?
Before we start make sure you have server with SSL certificate installed so, as we recommended above fastcomet hosting we think is the best as they provide free SSL certificate and basic support like migration, setup of any software, speed optimization etc. You just have to raise the ticket and in our views their response in comparison to other hosting is very fast. You can chat also if required.
Step 1: Purchase hosting – Click to Purchase ( 80% Discount )
Step 2: Thing required on server ( PHP, Mysql )
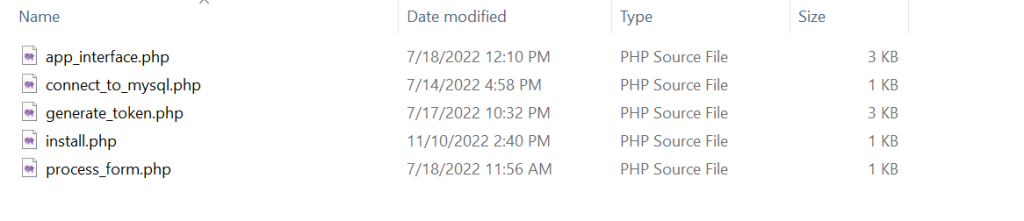
Step 3: Create below files
- connect_to_mysql.php
- install.php
- generate_token.php
- app_interface.php
- process_form.php
File 1: connect_to_mysql.php
<?php
$servername = "localhost";
$username = "root";
$password = "";
$db = "mailchimp_db";

$conn = mysqli_connect($servername, $username, $password, $db);

if (!$conn) {
    die("Connection Error: " . mysqli_connect_error());
}
File 2: install.php
<?php

require_once('connect_to_mysql.php');

// Set variable for our request
$shop = $_GET['shop'];

$api_key = "e5dd163cd8a42437f7c240ed210e8c13";
$scopes = "read_orders,write_products";
$redirect_uri = "http://localhost/afterinc_mailchimp/generate_token.php";

// Build install/approval URL to redirect to
$install_url = "https://" . $shop . "/admin/oauth/authorize?client_id=" . $api_key . "&scope=" . $scopes . "&redirect_uri=" . $redirect_uri;

// Redirect
header("Location: " .$install_url);
die();
File 3: generate_token.php
<?php

require_once('connect_to_mysql.php');

$api_key = "e5dd163cf8a4243737c240ed210e8c13";
$secret_key = "c39918e4d8f20d315c6e2a404f62541a";

$params = $_GET; //Retrieve all request parameters
$hmac = $_GET['hmac']; //Retrieve HMAC request parameters

$params = array_diff_key($params, array('hmac' => '')); // Remove hmac from params
ksort($params); // Sort params lexograhically
$computed_hmac = hash_hmac('sha256', http_build_query($params), $secret_key);


// Use hmac data to check that the response is from shopify or not
if(hash_equals($hmac, $computed_hmac)) {
	// Set variables for our request
	$query = array(
	    "client_id" => $api_key, // Your API key
		"client_secret" => $secret_key, // Your app credentials (Secret key)
		"code" => $params['code'] // Grab the access key from the urldecode
	);

	// Generate access token URL
	$access_token_url = "https://" . $params['shop'] . "/admin/oauth/access_token";

	// Configure curl client and execute request
	$ch = curl_init();
	curl_setopt($ch, CURLOPT_RETURNTRANSFER, 1);
	curl_setopt($ch, CURLOPT_URL, $access_token_url);
	curl_setopt($ch, CURLOPT_POST, count($query));
	curl_setopt($ch, CURLOPT_POSTFIELDS, http_build_query($query));

	$result = curl_exec($ch);

	curl_close($ch);

	// Store the access token
	$result = json_decode($result, true);
	$access_token = $result['access_token'];

    // Show the access token (don't do this in production!)
	// echo $access_token;

	//Insert Access Token & Other Details
	$sql = "INSERT INTO `mailchimp_store` (`id`, `store_url`, `access_token`) VALUES (NULL, '".$params['shop']."', '".$access_token."')";

	if ($conn->query($sql) === TRUE) {
	  //echo "New record created successfully";
	  header("Location: https://" . $params['shop'] . "/admin/apps/afterinc-mailchimp");
	} else {
	  echo "Error: " . $sql . "<br>" . $conn->error;
	}

	$conn->close();

} else {

    // Someone is trying to be shady!
    die('This request is NOT from Shopify!');

}
File 4: app_interface.php
<!DOCTYPE html>
<html lang="en">
<head>

	<title>APP Settings</title>
	<meta charset="utf-8">
	<meta name="viewport" content="width=device-width, initial-scale=1">
	<link rel="stylesheet" href="https://maxcdn.bootstrapcdn.com/bootstrap/3.4.1/css/bootstrap.min.css">
	<script src="https://ajax.googleapis.com/ajax/libs/jquery/3.6.0/jquery.min.js"></script>
	<script src="https://maxcdn.bootstrapcdn.com/bootstrap/3.4.1/js/bootstrap.min.js"></script>

    <script>
	//Mailchimp API Credentials
	$(document).ready(function(){
		$("#apimailchimp").on("submit", function(event){
			event.preventDefault();

			var formValues= $(this).serialize();

			$.post("process_form.php", formValues, function(data){
				// Display the returned data in browser
				$("#result").html(data);
			});
		});
	});
    </script>

</head>
<body>

<div class="container">
  <h2>MailChimp API Credentials</h2>
  <form action="#" id="apimailchimp">
    <div class="form-group">
      <label for="email">Mailchimp API Key:</label>
      <input type="text" class="form-control" id="api_key" placeholder="Enter key" name="api_key">
    </div>
    <div class="form-group">
      <label for="pwd">Mailchimp List ID:</label>
      <input type="text" class="form-control" id="list_id" placeholder="Enter list id" name="list_id">
    </div>

    <button type="submit" class="btn btn-default">Submit</button>
  </form>
</div>


<div class="container">
  <h2>Set Email Configuration</h2>
  <form action="#" id="email_configure">
    <div class="form-group">
        <label for="email">Email Frequency:</label>

	    <select class="form-select" id="email_frequency" name="email_frequency">
		  <option value="12_hrs">Every 12 hr</option>
		  <option value="24_hrs">Every 24 hr</option>
		  <option value="48_hrs">Every 48 hr</option>
		  <option value="1_month">Every 1 Month</option>
		</select>

    </div>
    <button type="submit" class="btn btn-default">Submit</button>
  </form>
</div>

</body>
</html>
File 5: process_form.php
<?php

require_once('connect_to_mysql.php');

//Inserting the MailChimp API key & List ID

$sql = "UPDATE `mailchimp_store` SET `mailchimp_api_key` = '".$_REQUEST['api_key']."', `mailchimp_list_id` = '".$_REQUEST['list_id']."' WHERE `mailchimp_store`.`id` = 6";

if ($conn->query($sql) === TRUE) {
  echo "Record updated successfully";
} else {
  echo "Error: " . $sql . "<br>" . $conn->error;
}

$conn->close();
Mysql Table Query: Make sure to create mysql table. We are not creating here.
All the above files to be present on your server.
This is how it will look when you start the intallation:

You are now done with the “Shopify APP Development” using PHP & Mysql

I needs to spend some time learning more or understanding more.